Short vs Long Acting Insulin: Which Type is Right for You?
Managing diabetes effectively means understanding the different types of insulin and how they work in your body. The choice between short vs long acting insulin can significantly impact your blood sugar control, daily routine, and overall quality of life.
Short-acting insulin works quickly to manage blood sugar spikes after meals, while long-acting insulin provides steady glucose control throughout the day. Each type serves a specific purpose in diabetes management, and many people use both as part of their treatment plan.
In this guide, we’ll break down the key differences between short and long acting insulin, help you understand which type might work best for your lifestyle, and explain how to use them effectively for optimal blood sugar control.
Need reliable insulin options? Browse our insulin collection for fast-acting and long-lasting solutions.
What Is Short Acting Insulin
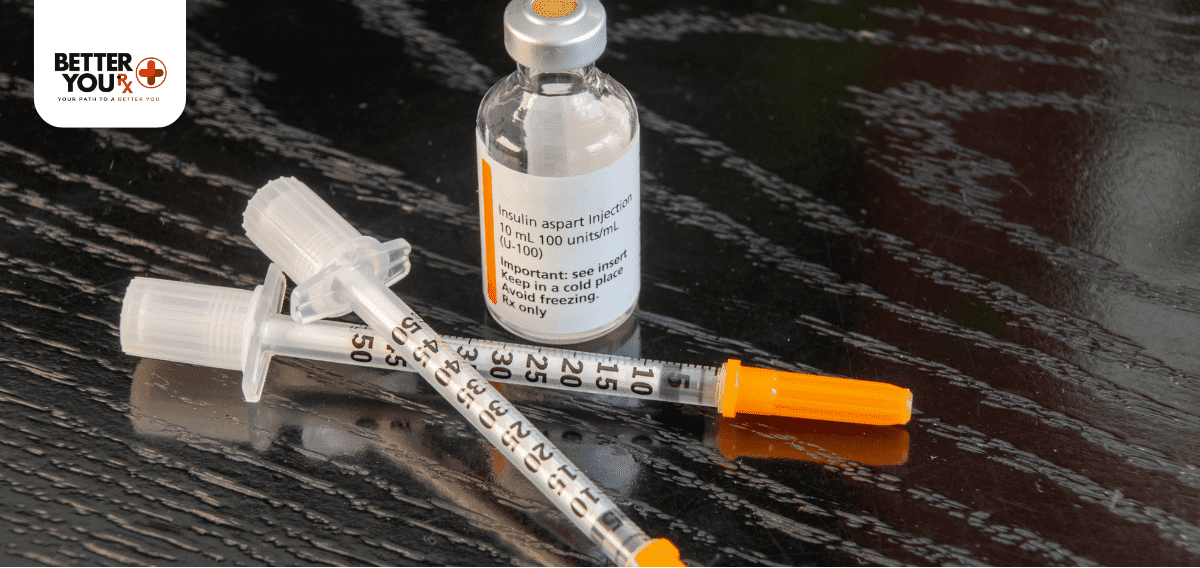
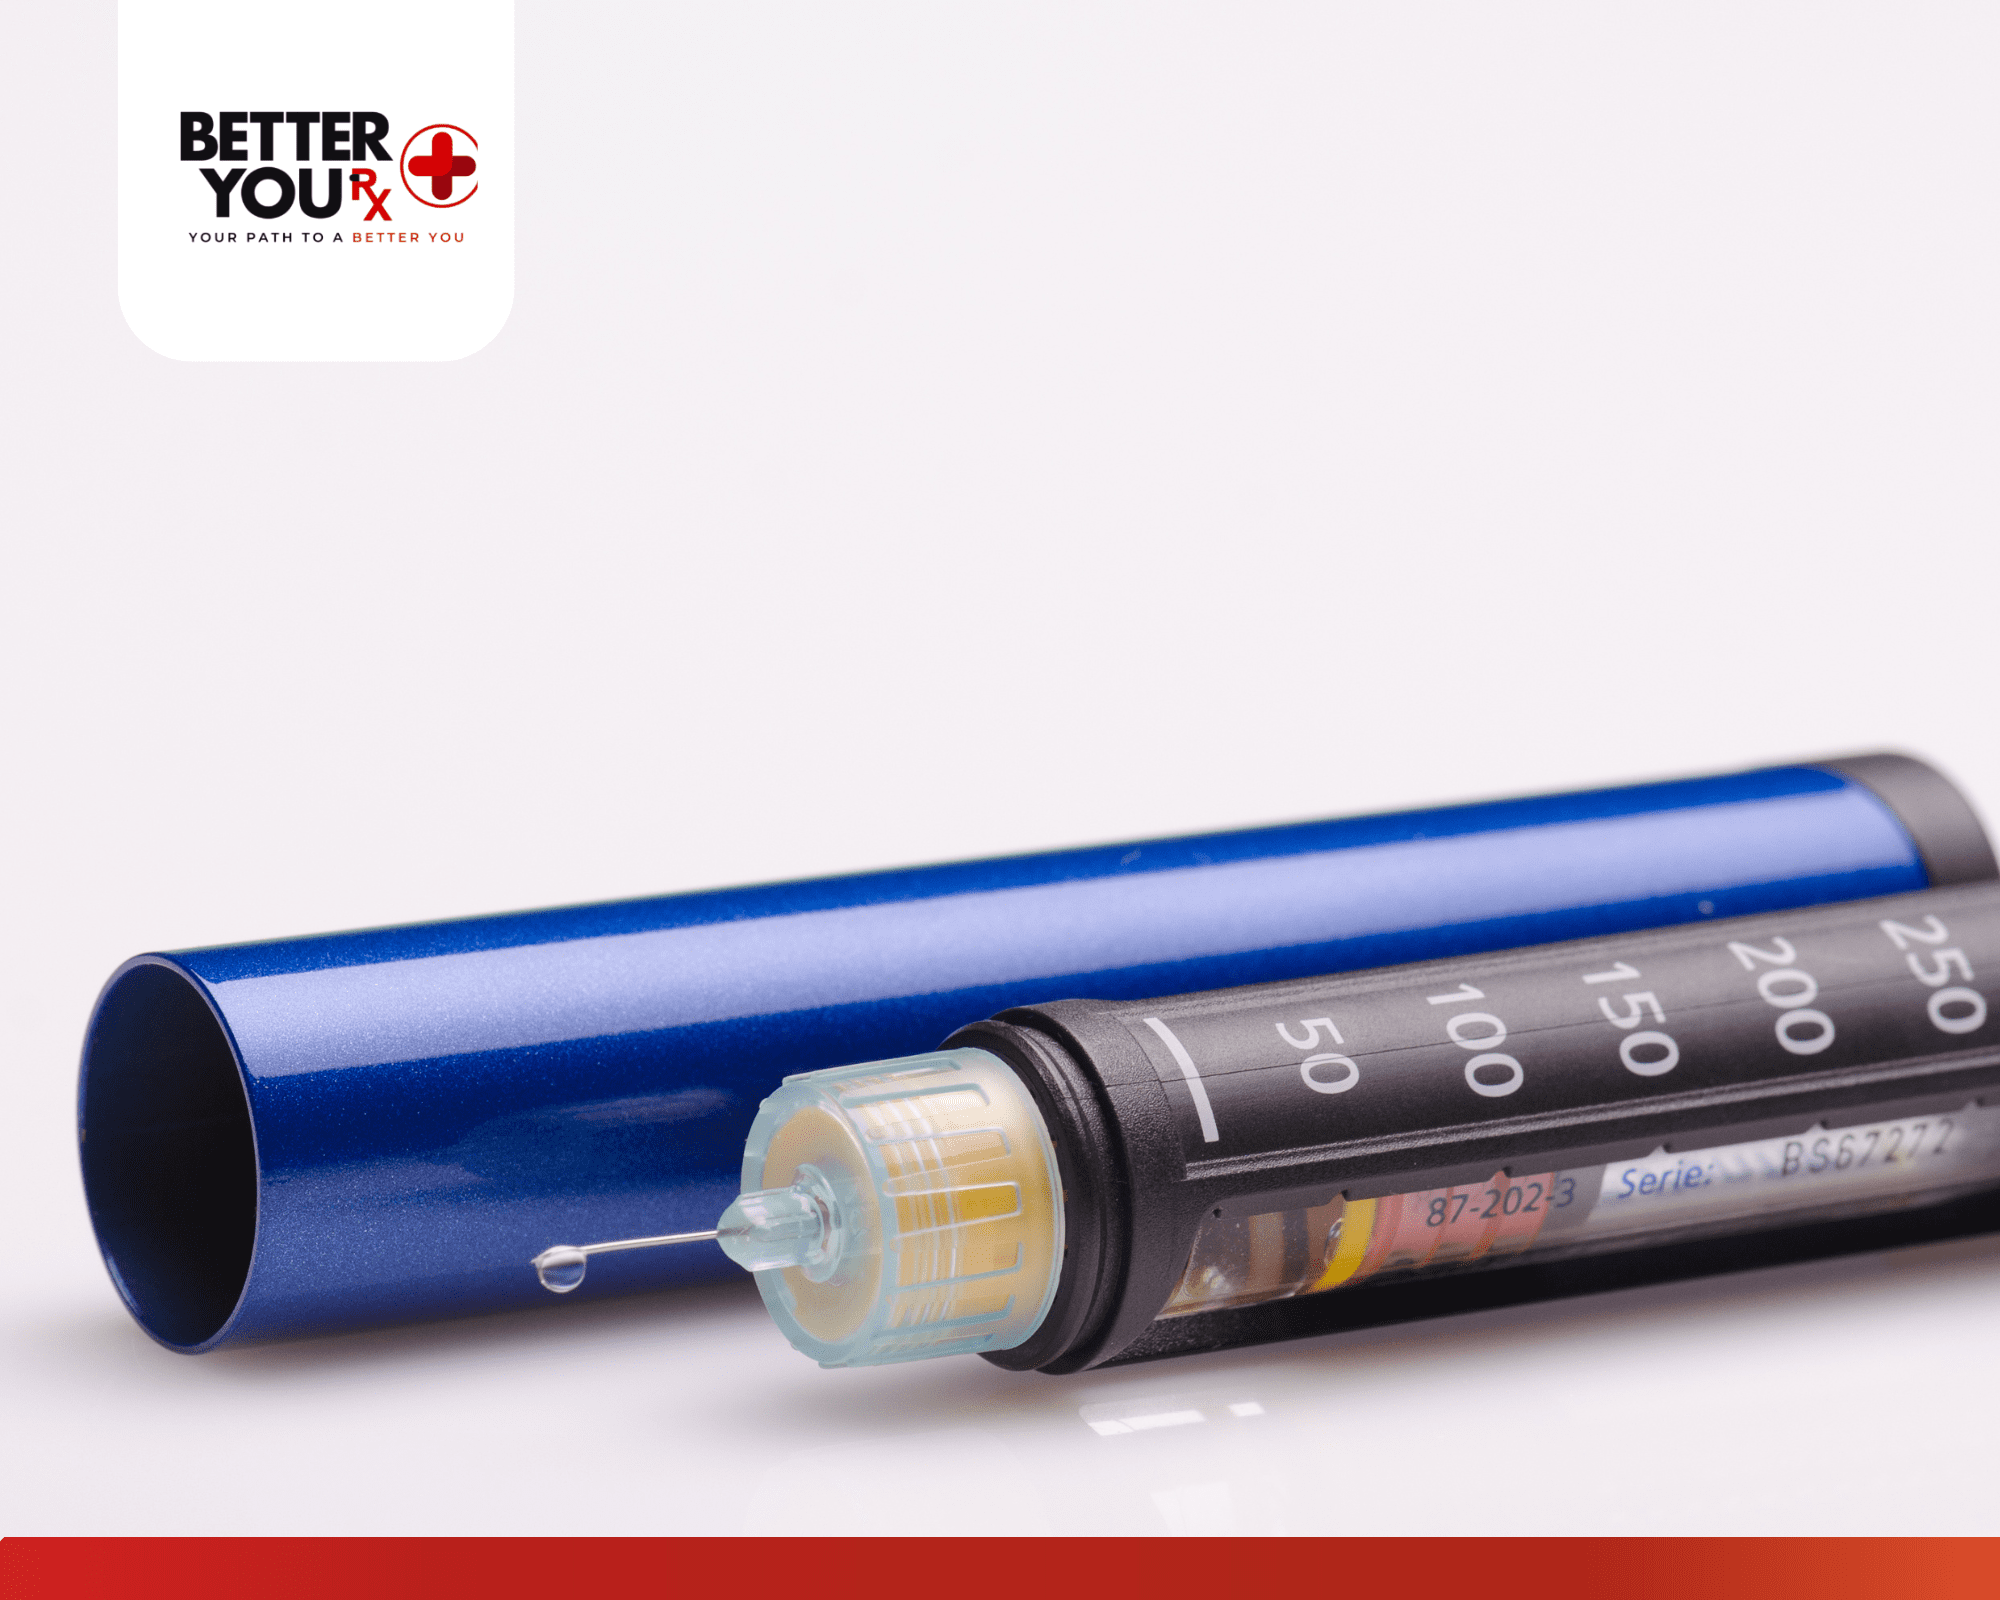
Short acting insulin is designed to work quickly in your body, typically starting to lower blood sugar within 30 minutes to 2 hours after injection. This type of insulin is essential for managing blood glucose spikes that occur after eating meals.
Unlike long acting insulin, short acting insulin has a relatively brief duration of action, making it perfect for covering the immediate rise in blood sugar from food consumption.
Basic Definition and Purpose
Short acting insulin, also called regular insulin, is a fast-working medication that helps your body process glucose from meals. It mimics the natural insulin response your pancreas would normally produce when you eat.
You’ll typically inject short acting insulin 30 minutes before meals to ensure it’s working when your blood sugar begins to rise. The timing is crucial because this insulin needs to align with your body’s natural digestion process.
Common brand names include Humulin R, Novolin R, and rapid-acting options like Apidra. Each has slightly different onset times and durations, but all serve the same basic function of managing post-meal glucose levels.
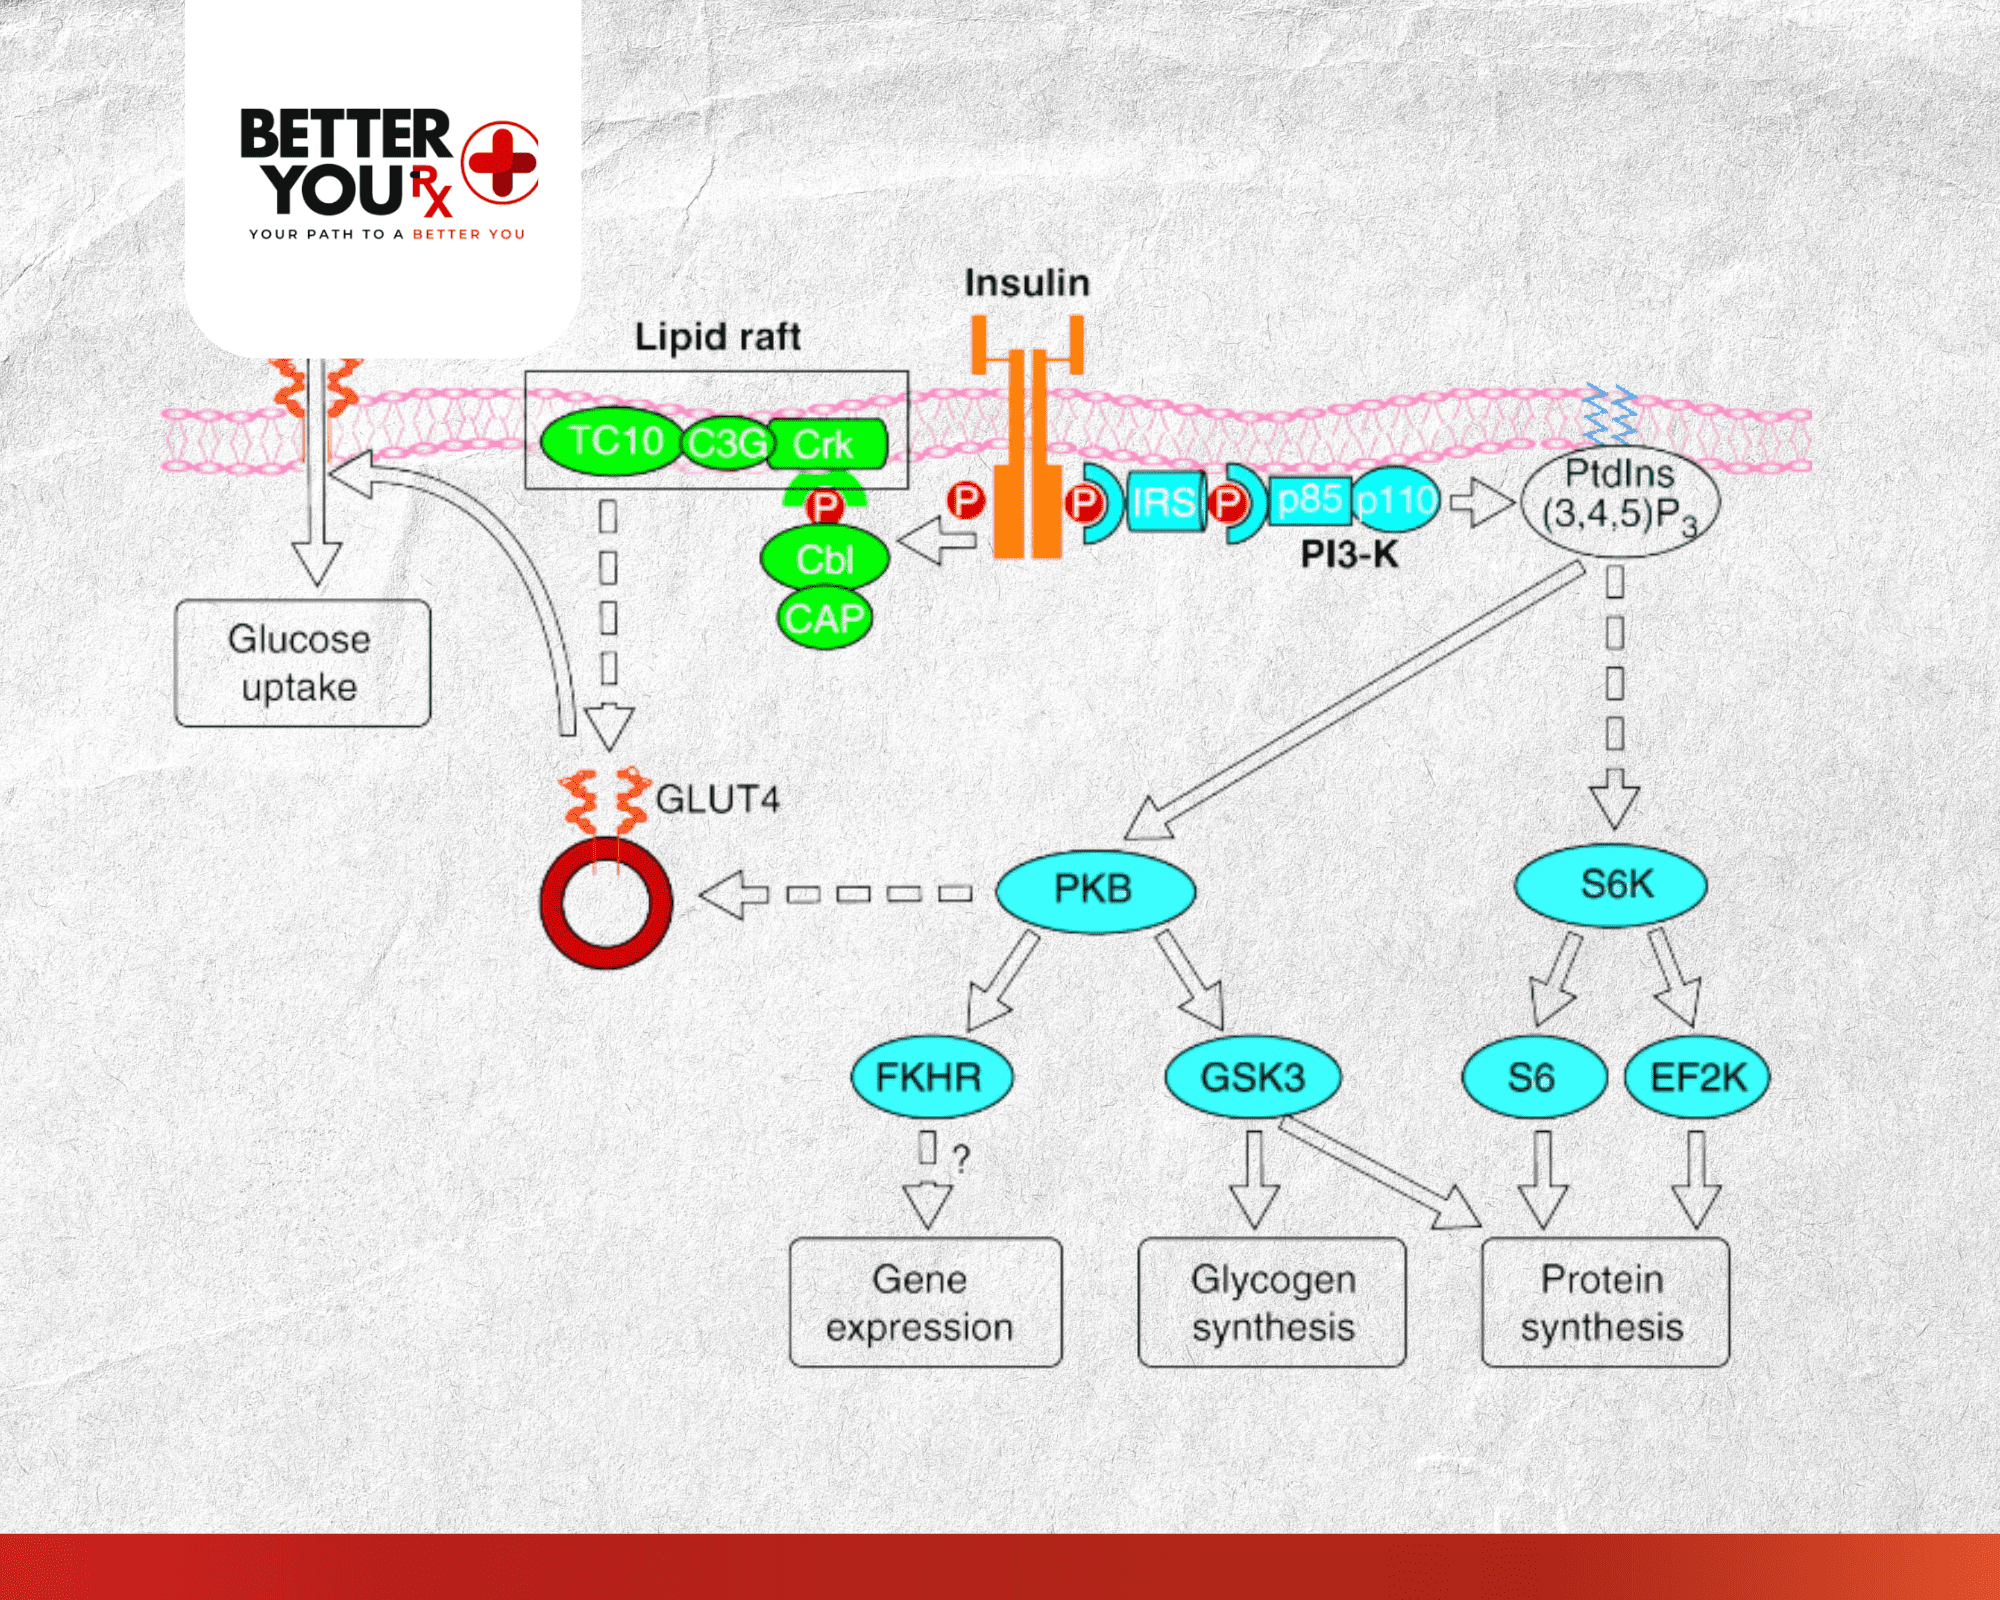
How It Works in Your Body
When you inject short acting insulin, it enters your bloodstream and helps cells absorb glucose from your blood. This process typically begins within 30 minutes to 1 hour, peaks at 2-4 hours, and lasts for 6-8 hours total.
The insulin works by binding to insulin receptors on your cells, essentially “unlocking” them to accept glucose. Without this process, glucose would remain in your bloodstream, leading to dangerous high blood sugar levels.
Your body absorbs short acting insulin at different rates depending on injection site, activity level, and individual metabolism. Injecting into the abdomen usually provides the fastest absorption, while thigh injections tend to work more slowly.
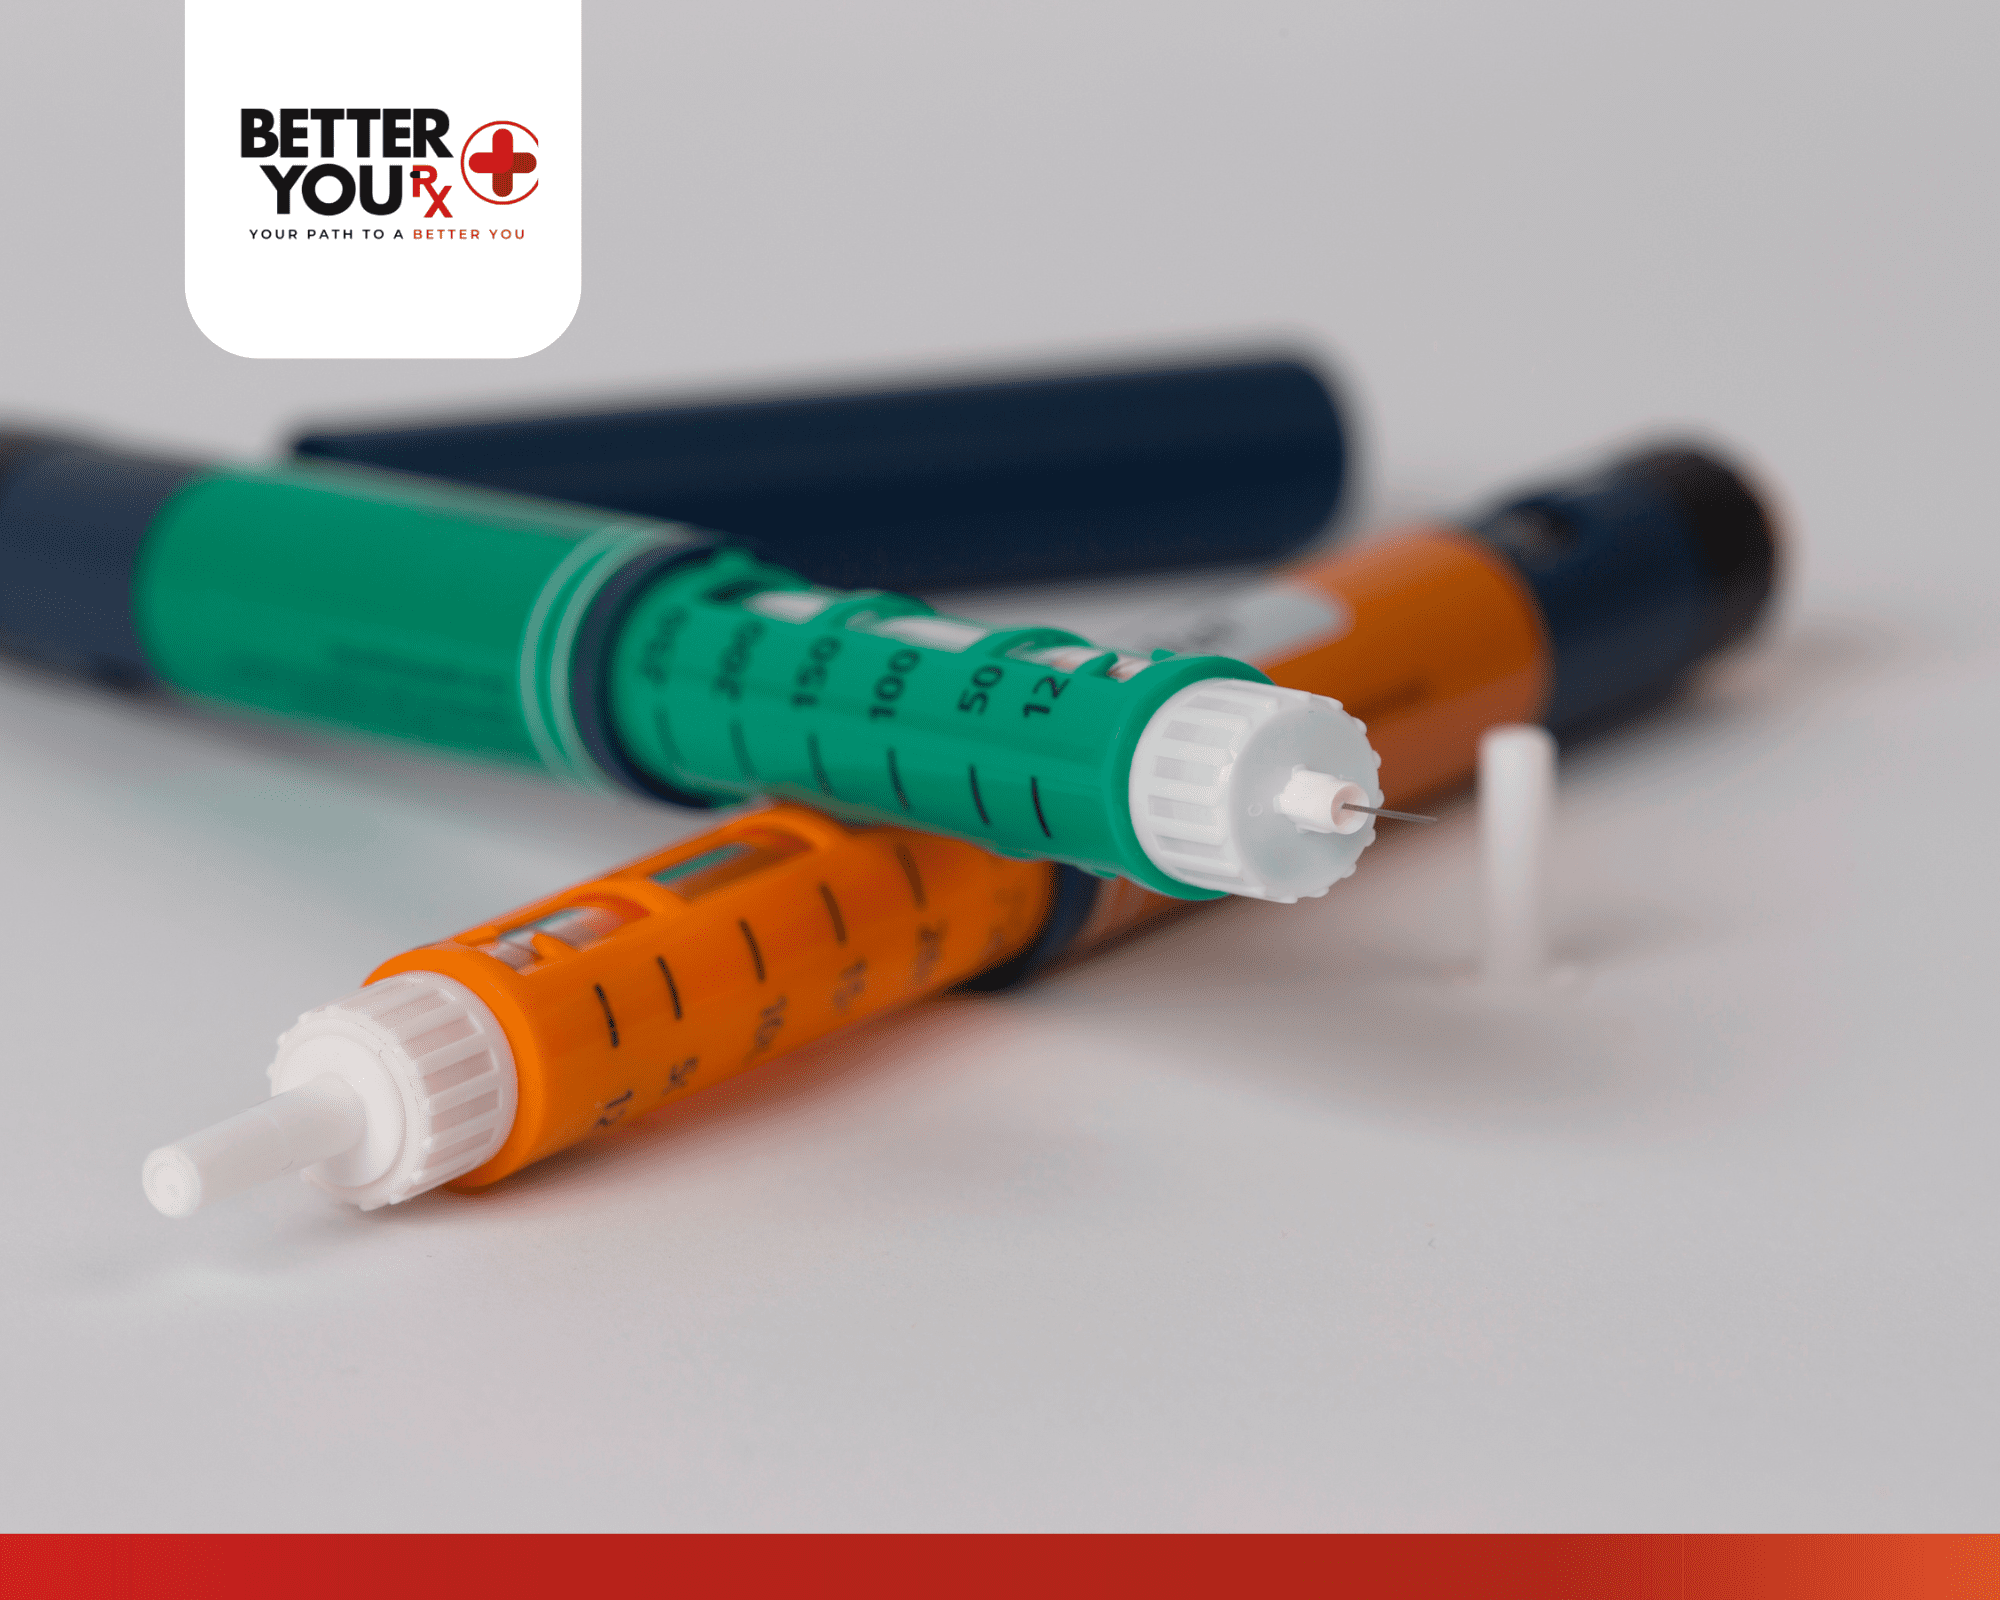
Types and Brand Options
Several types of short acting insulin are available, each with specific characteristics:
- Regular insulin (Humulin R, Novolin R): Traditional short acting insulin that starts working in 30-60 minutes
- Rapid-acting insulin (Humalog, Novolog, Apidra): Newer formulations that begin working within 15 minutes
- Ultra-rapid insulin: The newest category that starts working in as little as 5-10 minutes
The choice between these options depends on your eating schedule, lifestyle, and how your body responds to different formulations. Many people find rapid-acting insulin more convenient because it can be taken just before or even during meals.
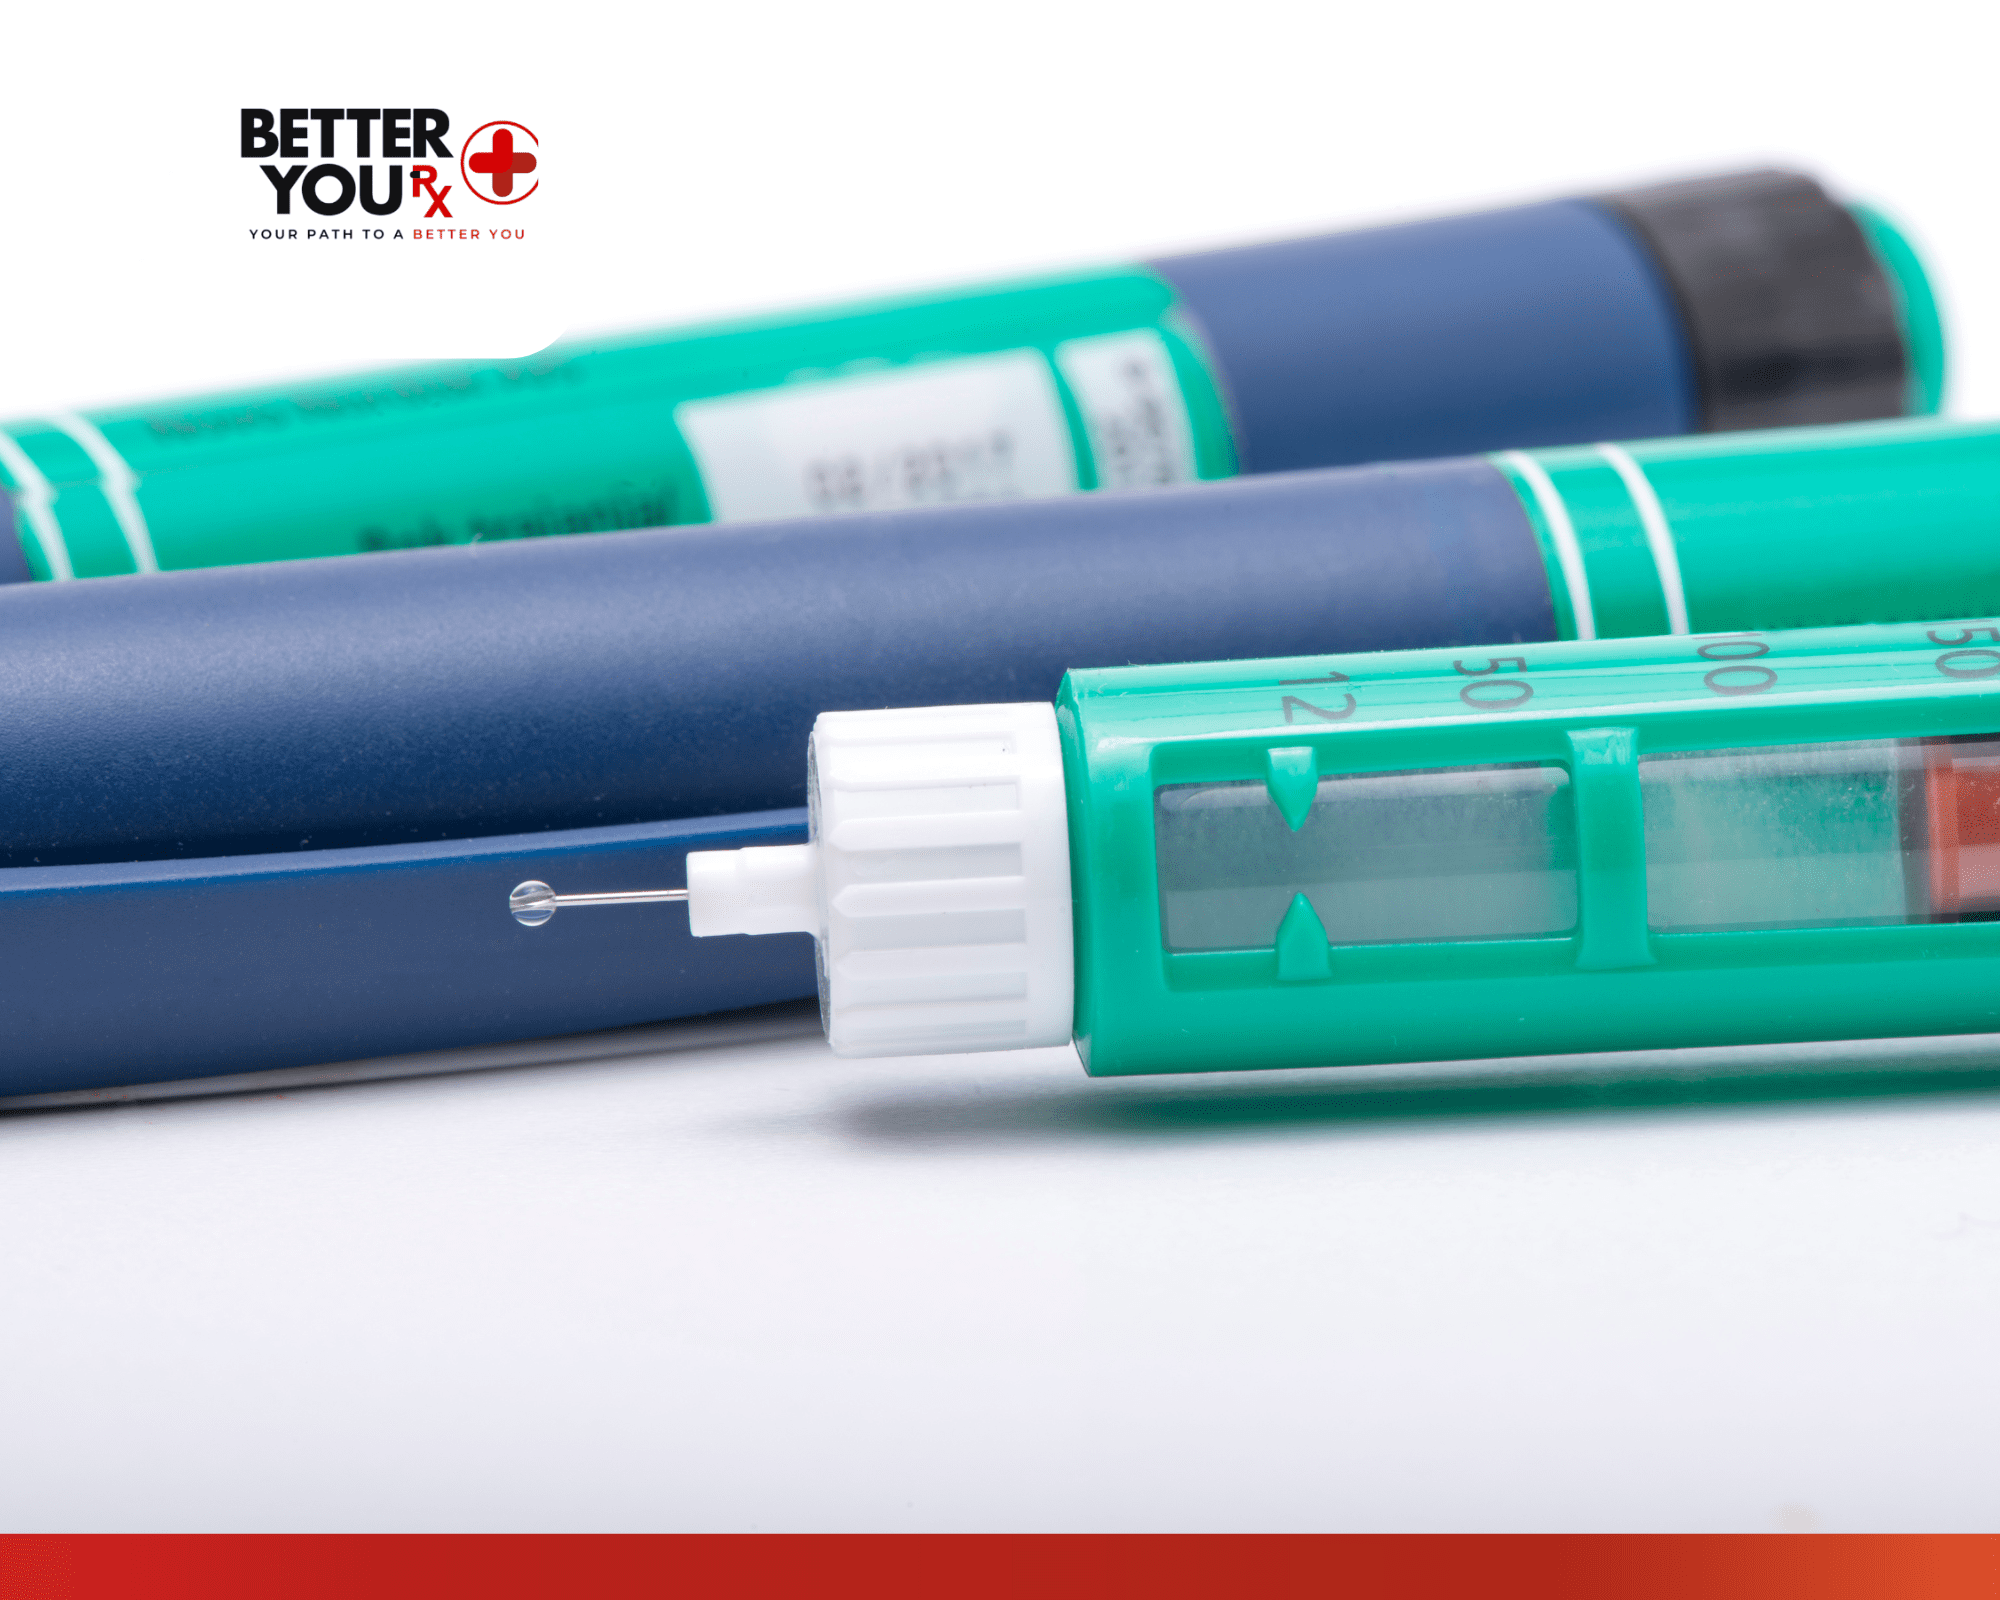
What Is Long Acting Insulin
Long acting insulin provides steady, consistent blood sugar control for 18-24 hours or longer. This type of insulin works as your body’s “background” insulin, mimicking the slow, continuous insulin release a healthy pancreas produces throughout the day and night.
Unlike short acting insulin that handles meal-related glucose spikes, long acting insulin maintains stable blood sugar levels between meals and while you sleep.
Basic Definition and Purpose
Long acting insulin, often called basal insulin, is designed to provide a steady release of insulin over an extended period. It helps control your baseline blood sugar levels when you’re not eating, preventing dangerous glucose fluctuations throughout the day.
You typically inject long acting insulin once or twice daily, usually at the same time each day to maintain consistent levels in your bloodstream. This predictable dosing schedule makes it easier to manage your diabetes routine.
Popular options include Basaglar, Lantus, Levemir, and Tresiba. Each has a different duration and release pattern, but all provide the extended coverage your body needs for optimal glucose control.
How It Works in Your Body
Long acting insulin is formulated to release slowly and steadily into your bloodstream over many hours. The insulin molecules are modified to delay absorption, creating a smooth, consistent effect rather than sharp peaks and valleys.
Most long acting insulins begin working within 1-2 hours after injection and maintain steady levels for 18-24 hours. Some newer formulations like Tresiba can last up to 42 hours, providing even more flexibility in dosing times.
The steady release helps your liver regulate glucose production and assists your cells in maintaining proper glucose uptake throughout periods when you’re not eating. This background insulin activity is essential for preventing both high and low blood sugar episodes.
Types and Brand Options
Several long acting insulin options are available, each with unique characteristics:
- Insulin glargine (Lantus, Basaglar): 24-hour duration with steady release
- Insulin detemir (Levemir): 18-24 hour duration, may need twice-daily dosing
- Insulin degludec (Tresiba): Ultra-long acting, lasts up to 42 hours
- NPH insulin: Intermediate-acting option that bridges short and long acting categories
Your healthcare provider will help determine which long acting insulin works best based on your blood sugar patterns, lifestyle, and individual response to different formulations.
Short vs Long Acting Insulin: Key Differences

Understanding the distinctions between short and long acting insulin is crucial for effective diabetes management. These two types serve completely different purposes and work on different timelines in your body.
Here’s a comprehensive comparison of how they stack up:
| Feature | Short Acting Insulin | Long Acting Insulin |
| Onset Time | 15 minutes to 2 hours | 1-2 hours |
| Peak Effect | 2-4 hours after injection | No significant peak (steady release) |
| Duration | 6-8 hours | 18-42 hours depending on type |
| Primary Purpose | Control post-meal blood sugar spikes | Provide baseline glucose control |
| Injection Timing | Before or with meals | Once or twice daily, same time |
| Flexibility | Must coordinate with meals | More flexible timing |
| Blood Sugar Pattern | Rapid drop, then returns to baseline | Steady, consistent control |
| Common Uses | Meal coverage, correction doses | Overnight control, between-meal stability |
When to Use Each Type
The timing and purpose of each insulin type determines when you’ll use them:
Short Acting Insulin:
- Before meals to cover expected blood sugar rise
- As correction doses when blood sugar is already high
- During illness when blood sugar is unpredictable
- For fine-tuning glucose control throughout the day
Long Acting Insulin:
- Daily baseline coverage, usually at bedtime or morning
- Maintaining stable glucose during sleep
- Preventing blood sugar spikes between meals
- Providing consistent control for people with irregular eating patterns
Combining Both Types
Many people with diabetes use both short and long acting insulin as part of a comprehensive treatment plan. This combination therapy allows for:
- Precise control over both baseline and meal-related blood sugar
- Flexibility in eating schedules while maintaining steady background control
- Better overall glucose management compared to using either type alone
- Reduced risk of both high and low blood sugar episodes
Your healthcare provider will determine the right combination and dosing schedule based on your individual needs, blood sugar patterns, and lifestyle factors.
Benefits and Considerations
Both short and long acting insulin offer specific advantages depending on your diabetes management needs. Understanding these benefits helps you work with your healthcare provider to choose the most effective treatment approach.
Short Acting Insulin Benefits
Short acting insulin provides several key advantages for managing blood glucose:
Precise Meal Control: You can adjust doses based on what and how much you plan to eat, giving you more flexibility in your diet and meal timing.
Quick Correction: When blood sugar runs high, short acting insulin can bring levels down relatively quickly, usually within a few hours.
Predictable Timing: The effects are relatively short-lived, so you know when the insulin will be most active and when it will wear off.
Reduced Post-Meal Spikes: By taking insulin before eating, you can prevent the dangerous blood sugar spikes that occur after meals.
Long Acting Insulin Benefits
Long acting insulin offers different but equally important advantages:
Steady Background Control: Provides consistent glucose management throughout the day and night without frequent injections.
Simplified Dosing: Usually requires only one or two injections per day at consistent times, making it easier to maintain your routine.
Sleep Security: Helps prevent dangerous blood sugar drops or spikes while you sleep, when you can’t monitor or treat glucose changes.
Lifestyle Flexibility: Since it works independently of meals, you have more freedom in when and what you eat without compromising glucose control.
Important Considerations
Each type of insulin also comes with specific considerations:
Short Acting Insulin Considerations:
- Requires careful timing with meals
- Risk of low blood sugar if you don’t eat as planned
- Multiple daily injections needed
- Must carry supplies when eating away from home
Long Acting Insulin Considerations:
- Takes longer to adjust if dose needs changing
- May not fully cover meal-related glucose spikes alone
- Timing consistency is important for optimal effect
- Individual response varies significantly between people
Safety reminders: Always follow your healthcare provider’s instructions for dosing and timing. Both types of insulin can cause low blood sugar if not used properly.
Looking for additional diabetes management options? Explore Byetta for complementary blood sugar control.
How to Use Short and Long Acting Insulin

Proper insulin injection technique and timing are essential for safe and effective diabetes management. Whether you’re using short acting, long acting, or both types of insulin, following correct procedures ensures optimal blood sugar control.
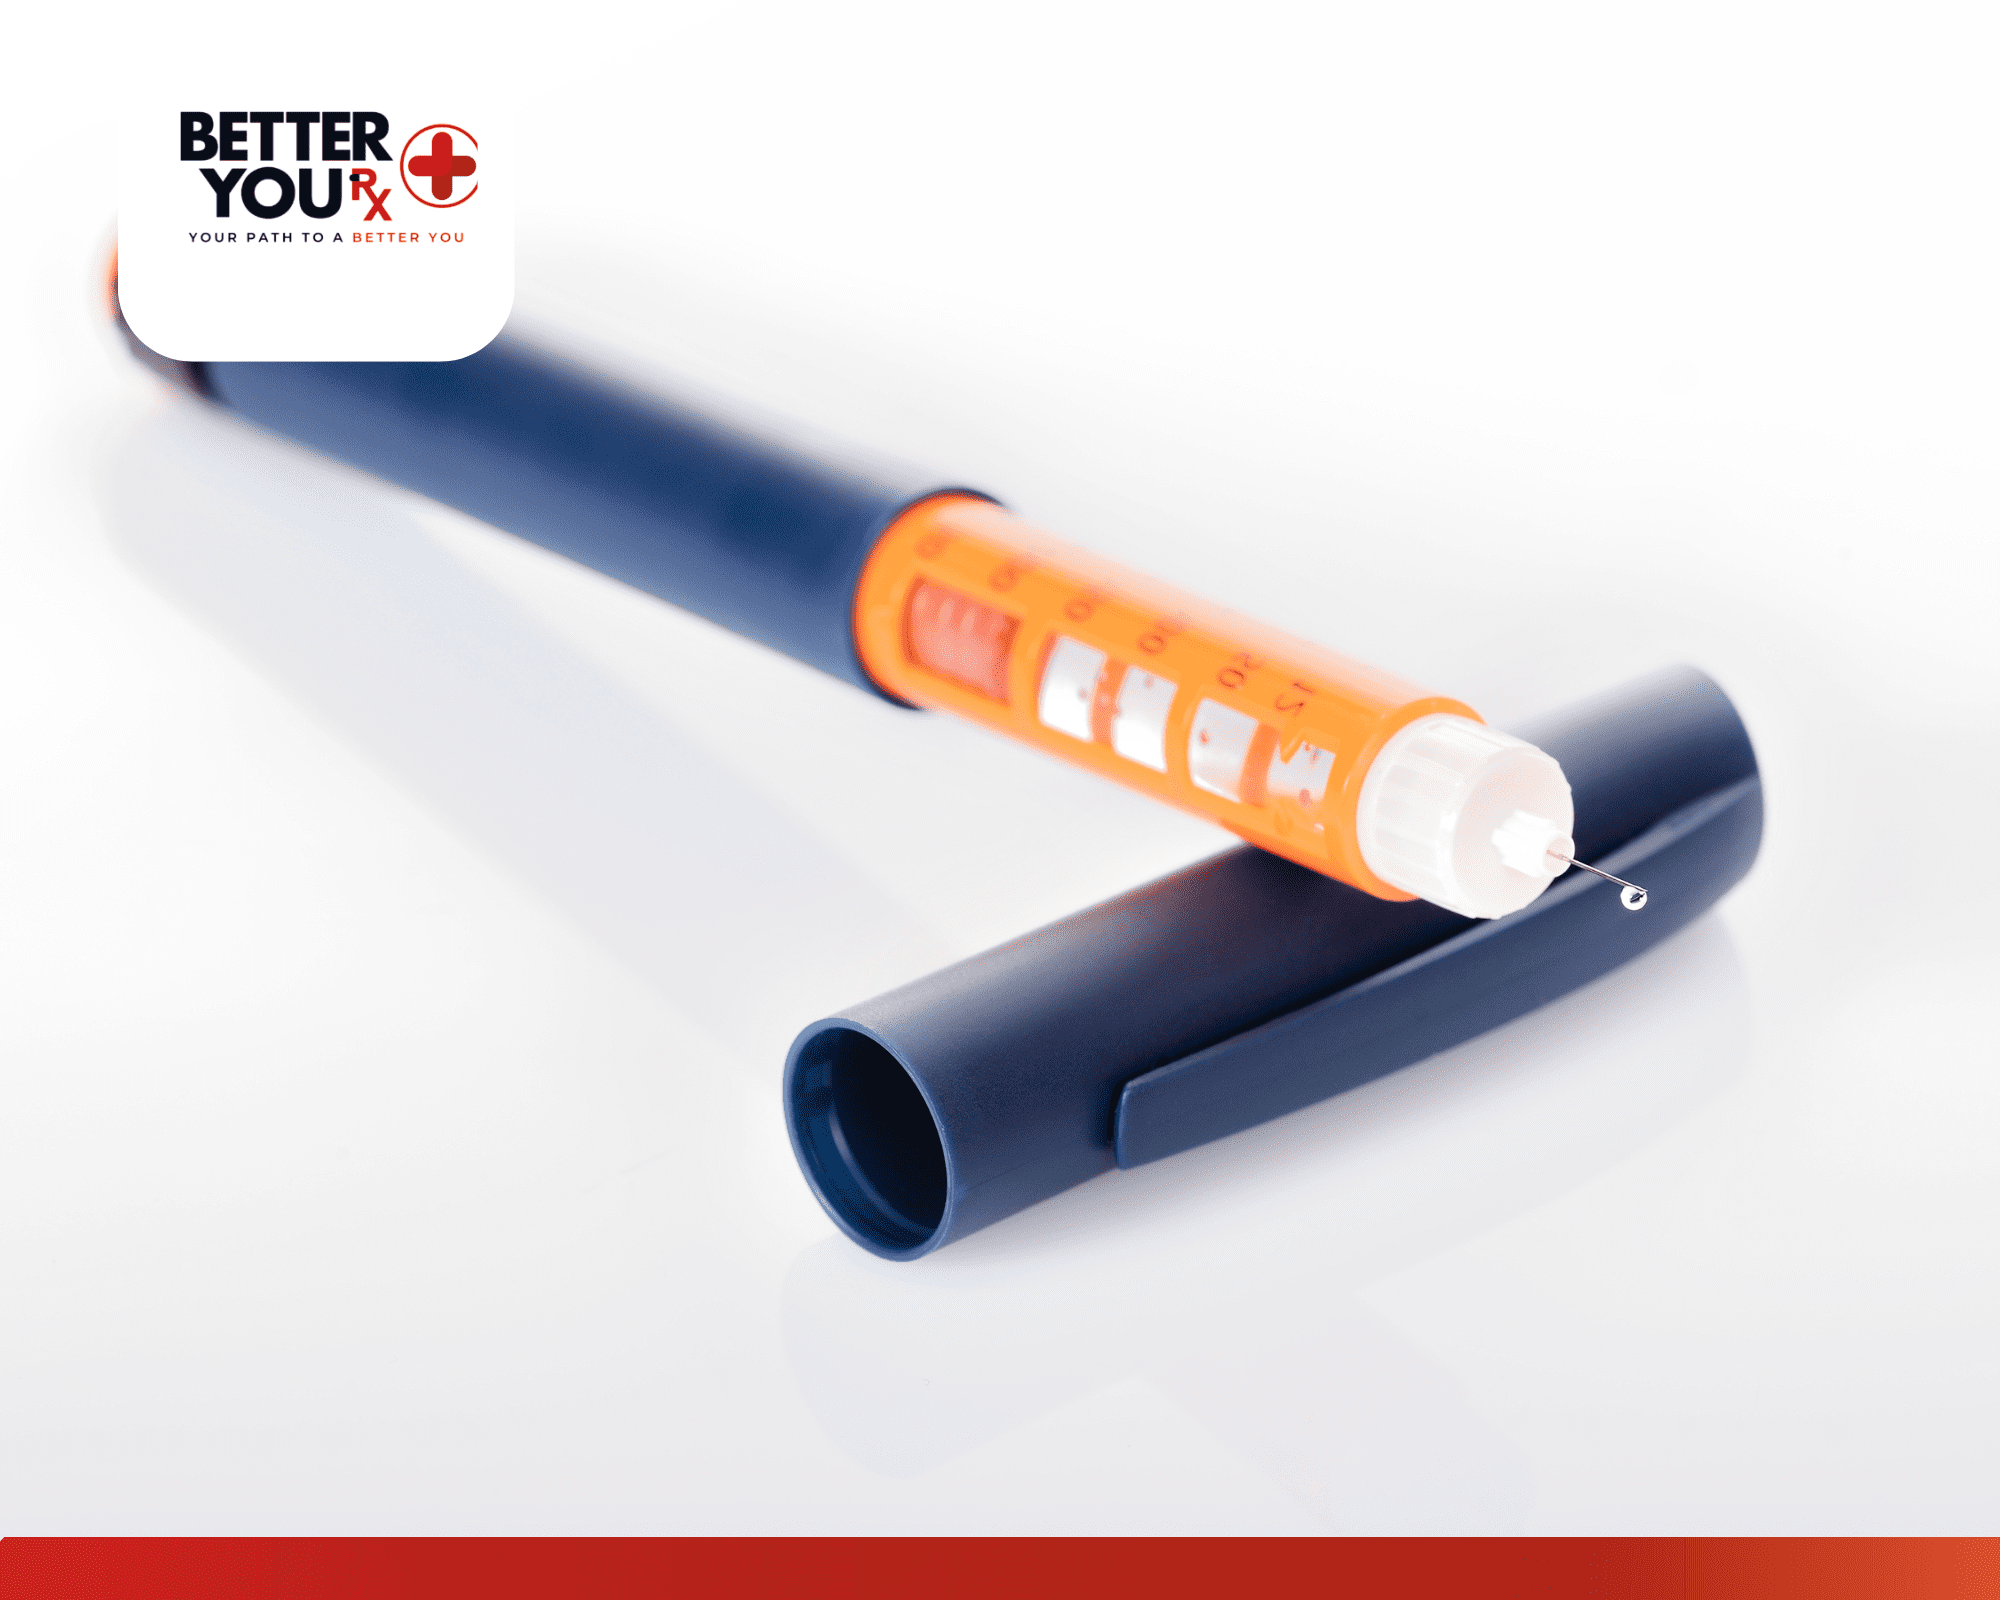
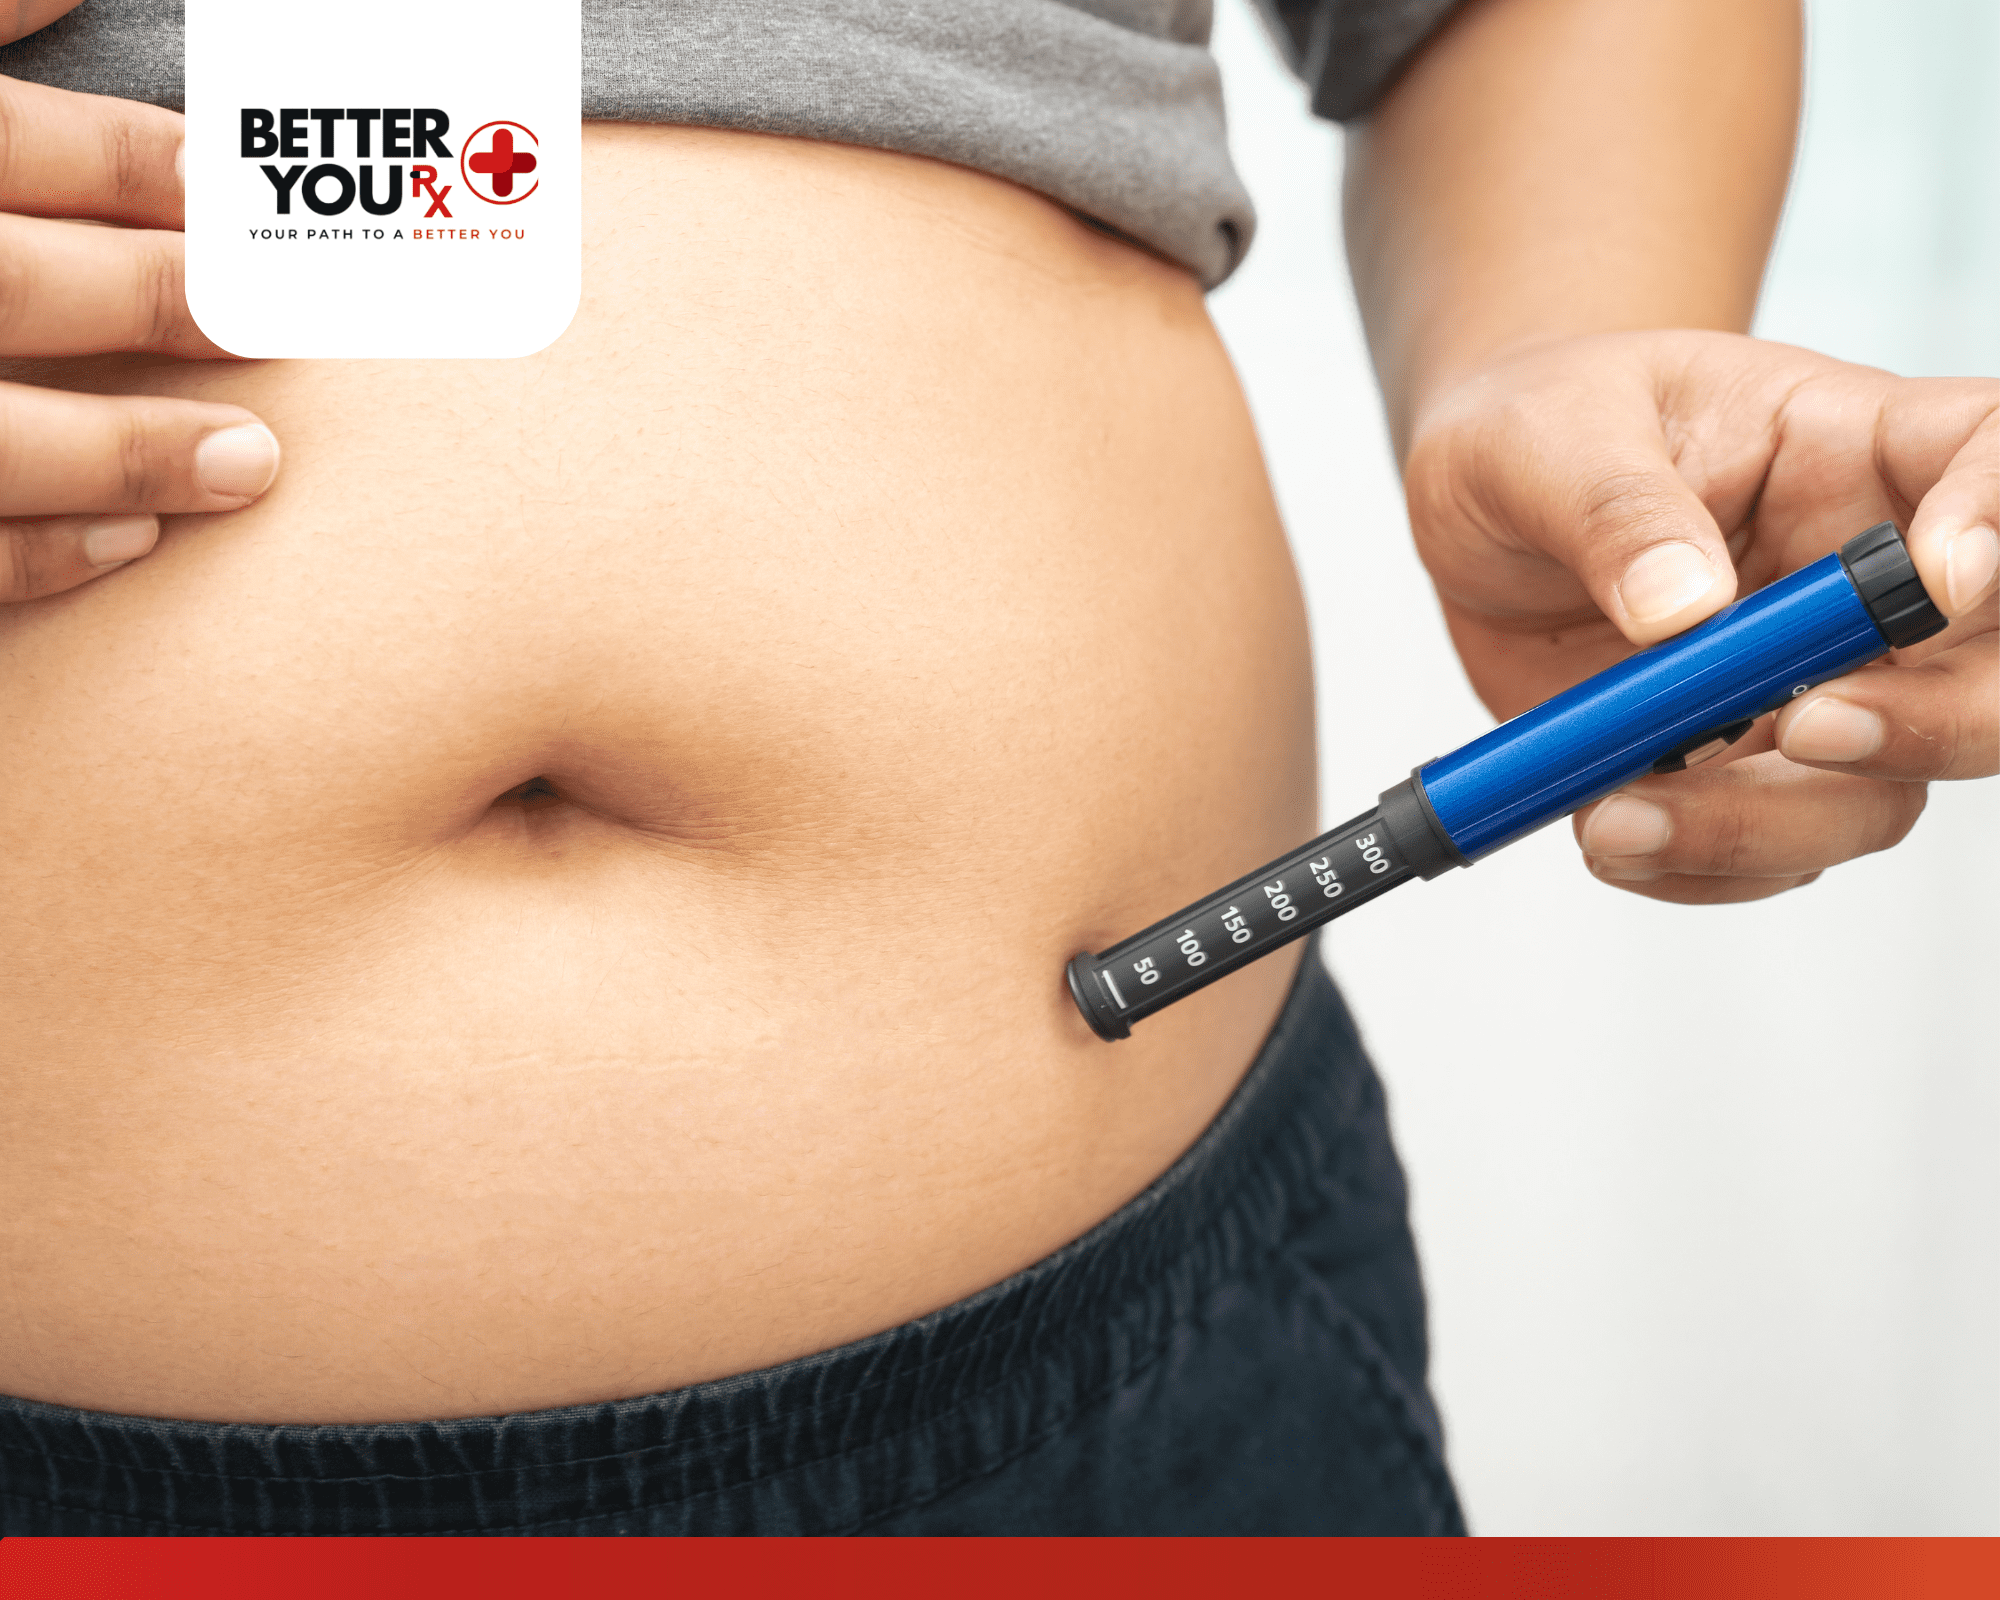
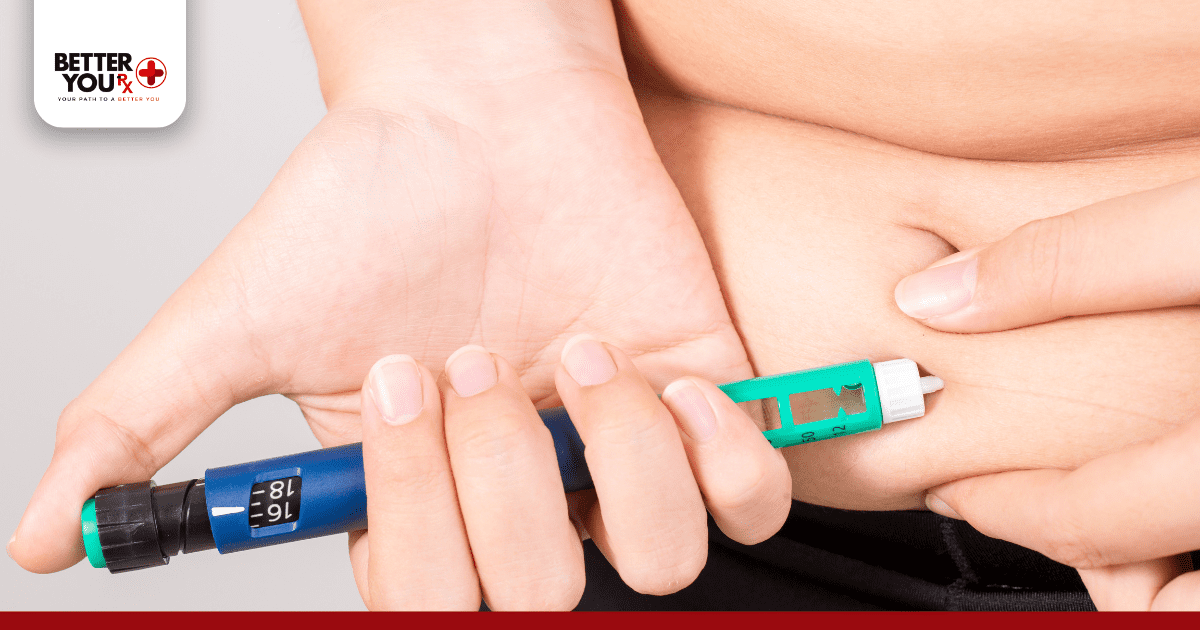
Injection Technique and Sites
Start by washing your hands thoroughly and gathering all necessary supplies: insulin, syringe or pen, alcohol swabs, and a sharps container for disposal.
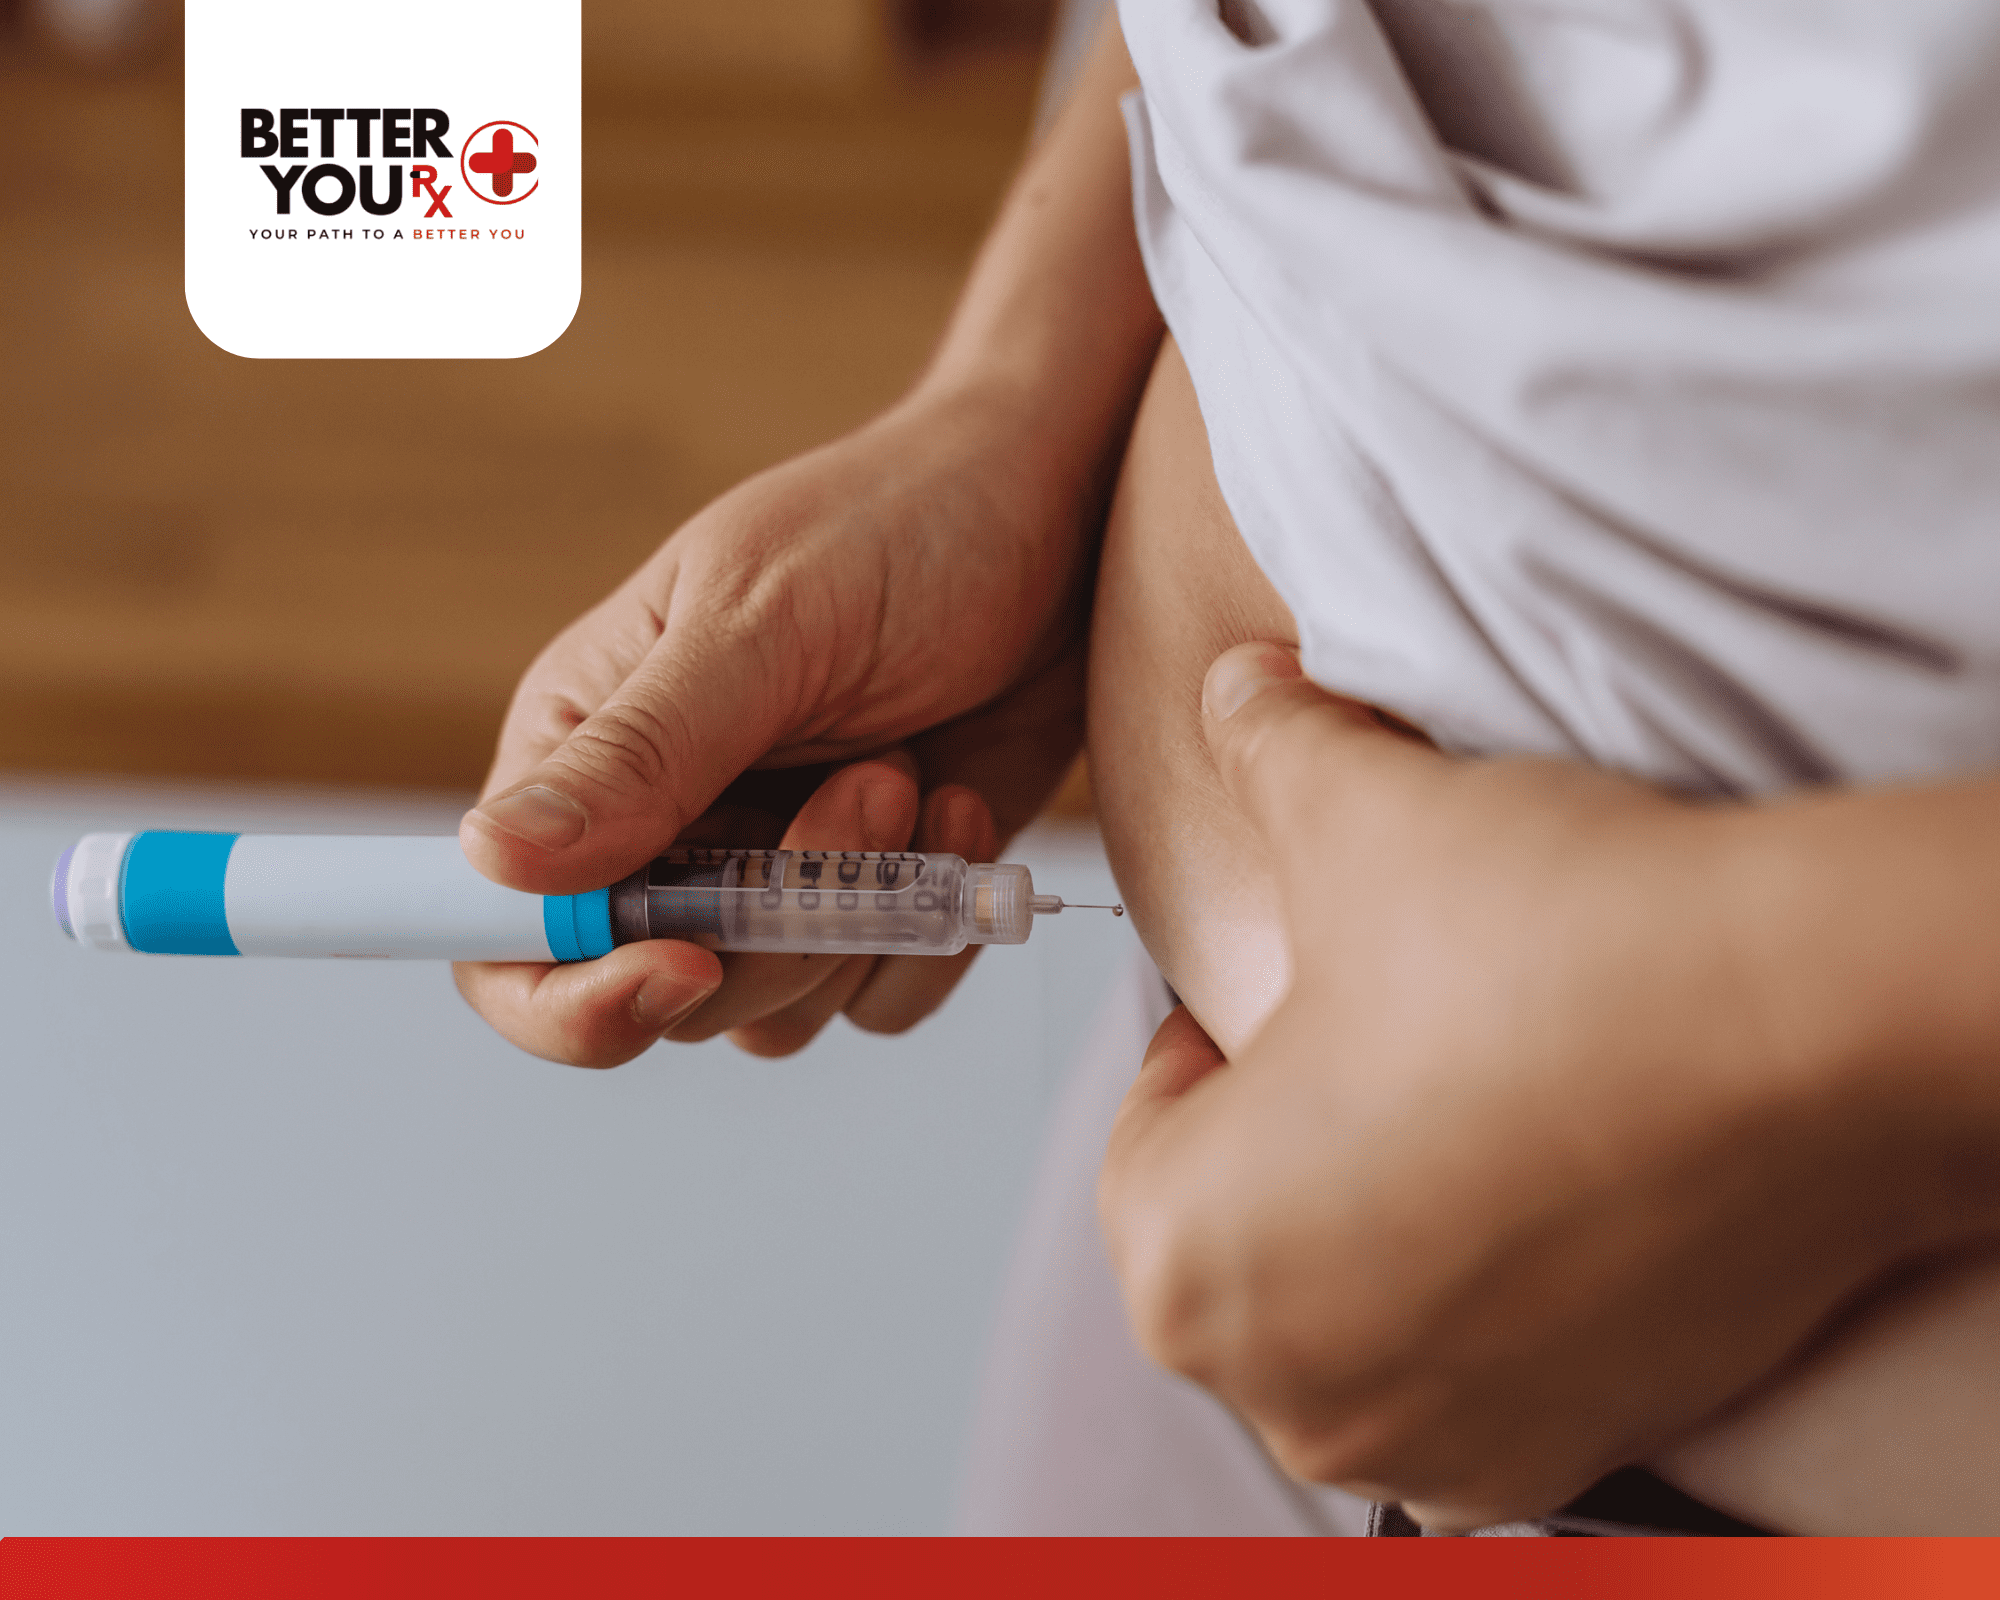
Choose your injection site carefully. The best areas include the abdomen (fastest absorption), outer thighs, upper arms, and buttocks. Rotate injection sites regularly to prevent lipodystrophy, which can affect insulin absorption.
Clean the injection site with an alcohol swab and let it dry. Insert the needle at a 90-degree angle for most people, or 45 degrees if you’re thin. Inject the insulin slowly and steadily, then wait 5-10 seconds before removing the needle to prevent insulin from leaking back out.
Never reuse needles or share insulin pens with others, as this can lead to infections or blood-borne disease transmission. Dispose of needles properly in a puncture-resistant sharps container.
Timing Guidelines
Short Acting Insulin Timing:
- Regular insulin: Inject 30 minutes before meals
- Rapid-acting insulin: Inject 5-15 minutes before eating
- Can be taken during or immediately after meals if needed
- Use for correction doses any time blood sugar is elevated
Long Acting Insulin Timing:
- Take at the same time every day for consistent coverage
- Many people prefer bedtime dosing for overnight control
- Morning dosing works well for some people
- Don’t worry about meal timing – this insulin works independently
Storage and Handling
Store unopened insulin in the refrigerator between 36-46°F, but never freeze it. Frozen insulin becomes ineffective and should be discarded immediately.
Once opened, most insulin can be stored at room temperature for 28 days, making it more comfortable to inject. Keep insulin away from extreme heat, direct sunlight, and freezing temperatures.
Always check insulin before using. Clear insulins should be colorless and free of particles. If you notice clumping, frosting, or discoloration, don’t use that insulin and contact your pharmacy for a replacement.
Monitoring and Adjusting
Regular blood glucose monitoring helps you understand how well your insulin regimen is working. Check blood sugar:
- Before meals and at bedtime for baseline readings
- 2 hours after meals to see how well short acting insulin is working
- Occasionally during the night to ensure long acting insulin is providing steady coverage
- Any time you feel symptoms of high or low blood sugar
Keep detailed records of blood glucose readings, insulin doses, meals, and physical activity. This information helps your healthcare provider make necessary adjustments to your insulin regimen.
Work closely with your diabetes care team to fine-tune your insulin doses. Never make significant changes to your insulin regimen without medical supervision, as this can lead to dangerous blood sugar fluctuations.
Wrapping Up
Choosing between short vs long acting insulin isn’t usually an either-or decision. Most people with diabetes benefit from understanding both types and how they work together to provide comprehensive blood glucose control throughout the day and night.
Short acting insulin handles the immediate challenge of post-meal blood sugar spikes, while long acting insulin provides the steady background control your body needs between meals and during sleep. Together, they can help you achieve the stable blood sugar levels that are essential for long-term health.
The key is working with your healthcare provider to find the right combination, timing, and doses that fit your individual needs, lifestyle, and blood sugar patterns. With proper education and consistent monitoring, both types of insulin can be powerful tools in managing your diabetes effectively.
Ready to take the next step in your diabetes management? Consult with your healthcare provider about which insulin types and insulin products might work best for your specific situation.
Frequently Asked Questions
Can Lantus cause dizziness?
Yes, Lantus can cause dizziness, particularly if it leads to low blood sugar (hypoglycemia). Dizziness is often one of the first symptoms people notice when their blood glucose drops too low. If you experience dizziness while taking Lantus, check your blood sugar immediately and follow your healthcare provider’s guidelines for treating low blood sugar.
Is Ozempic a short-acting insulin?
No, Ozempic is not insulin at all. Ozempic (semaglutide) is a GLP-1 receptor agonist that helps control blood sugar by increasing insulin production when blood sugar is high and slowing digestion. Unlike short-acting insulin that works within minutes to hours, Ozempic is taken once weekly and works differently to help manage diabetes.
Do type 2 diabetics take short-acting insulin?
Many people with type 2 diabetes do use short-acting insulin, especially those who have had diabetes for several years or need precise blood sugar control. Short-acting insulin is often prescribed when other medications aren’t providing adequate control, particularly for covering meals or correcting high blood sugar episodes. The decision depends on individual blood sugar patterns and overall diabetes management needs.
Can Lantus cause skin rash?
Yes, Lantus can cause skin reactions including rash, redness, or itching at the injection site. These reactions are usually mild and temporary, but persistent or severe skin reactions could indicate an allergy to the insulin. If you develop a widespread rash or other allergic symptoms, contact your healthcare provider immediately as this could be a serious allergic reaction.
What does an insulin allergy look like?
An insulin allergy can range from mild local reactions to severe systemic responses. Mild symptoms include redness, swelling, or itching at the injection site. More serious allergic reactions may cause widespread rash, hives, difficulty breathing, rapid heartbeat, or swelling of the face and throat. Severe insulin allergies are rare but require immediate medical attention.
Does insulin affect eyesight?
Insulin can temporarily affect eyesight, particularly when blood sugar levels change rapidly. When starting insulin or adjusting doses, some people experience blurry vision as their eyes adjust to changing glucose levels. This usually resolves within a few weeks. However, consistently high blood sugar over time can cause permanent eye damage, so proper insulin use actually helps protect your vision long-term.