Where To Buy Generic Ozempic: Your Complete Guide to Generic Semaglutide

Written by Sarah Mitchell, Pharmaceutical Content Specialist | Medically Reviewed by Dr. James Caldwell, PharmD | Updated: June 2025
Last Updated: June 2026
Generic Semaglutide is the bioequivalent form of brand-name Ozempic, containing the same active ingredient at the same dosage strength. If you are asking where to buy generic Ozempic, the safest and most cost-effective path runs through a licensed prescription referral service that works directly with contracted licensed pharmacies. Understanding how generic Semaglutide works, its potential benefits, costs, availability, and possible side effects can help you make an informed decision when discussing treatment options with your healthcare provider.
Things To Know About Generic Ozempic
- Generic Semaglutide contains the same active ingredient as brand-name Ozempic.
- A valid prescription from a licensed US physician is required to access it.
- It is primarily approved for blood sugar management in type 2 diabetes, though many patients also experience weight reduction.
- You cannot walk into a store and purchase generic Semaglutide over the counter.
- Pricing through a prescription referral service is often significantly lower than US retail costs.
- Results typically begin within 4 to 8 weeks of consistent use.
- Common side effects include nausea, vomiting, and gastrointestinal discomfort, especially during dose escalation.

What Is Generic Semaglutide and How Does It Differ From Ozempic
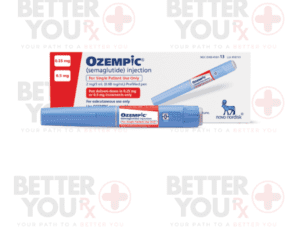
Semaglutide is the generic name for Ozempic. When people search for where to buy generic Ozempic, they are looking for a version of the drug that delivers the same therapeutic effect at a lower cost. Generic Semaglutide works identically to the brand-name version because it shares the same molecular structure and active compound.
Ozempic belongs to a class of medications called GLP-1 receptor agonists. These drugs mimic a natural hormone in the body that signals the pancreas to release insulin when blood sugar rises. At the same time, they slow gastric emptying, which reduces appetite and keeps blood sugar levels more stable after meals.
Most healthcare providers follow established clinical protocols when prescribing this medication, beginning patients on a low dose and titrating upward over several weeks based on how the body responds. This approach minimizes side effects and allows for steady adjustment.
Generic Semaglutide vs Brand-Name Ozempic: Side-by-Side Comparison
| Feature | Generic Semaglutide | Brand-Name Ozempic |
|---|---|---|
| Active Ingredient | Semaglutide | Semaglutide |
| Drug Class | GLP-1 Receptor Agonist | GLP-1 Receptor Agonist |
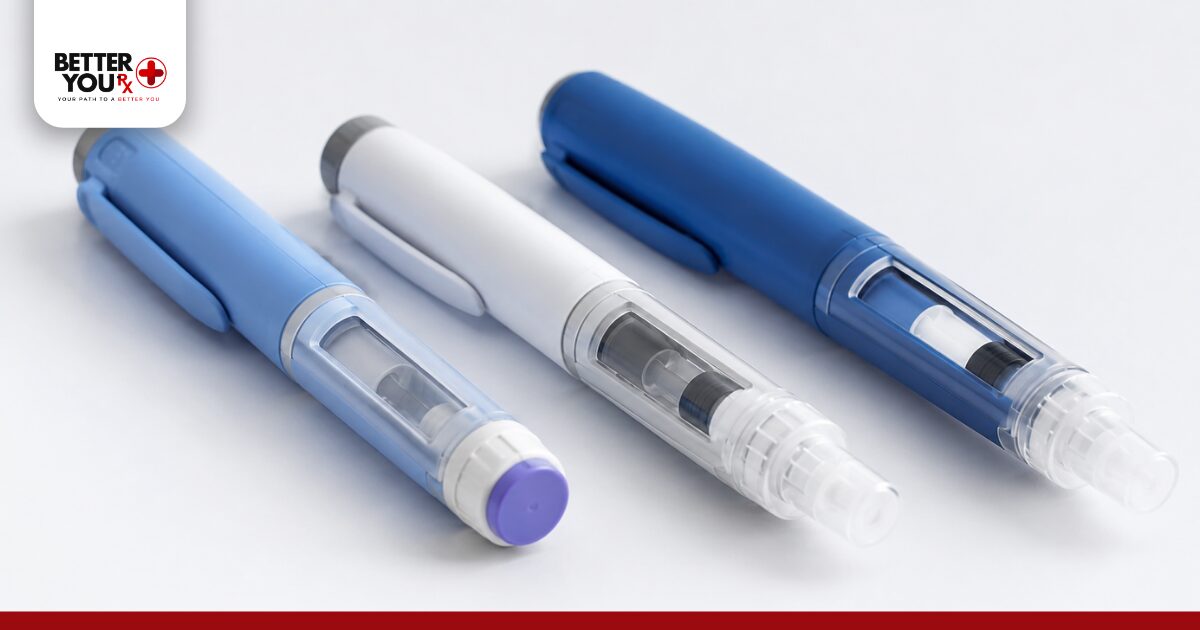
| Dosage Forms | Injection (subcutaneous) | Injection (subcutaneous) |
| Requires Prescription | Yes | Yes |
| Typical Cost | Lower through referral service | Higher at US retail |
| Availability | Through licensed referral services | US-licensed pharmacies |
| Bioequivalence | Bioequivalent to brand-name | Reference standard |
Where To Buy Generic Ozempic Safely
The question of where to buy generic Ozempic is not just about price. It is about finding a legitimate, supervised pathway that protects your health. Generic Semaglutide is a prescription medication, which means it cannot be purchased without a valid prescription written in English and issued by a primary care physician or licensed medical doctor practicing within the United States.
Our prescription referral service connects US patients with our licensed contracted pharmacy department, so every order is handled under proper medical oversight. You will not find generic Semaglutide safely at a general online retailer, and purchasing from unverified sources carries serious safety risks including counterfeit products and incorrect dosing.
Here is what the process typically looks like when using a legitimate prescription referral service:
- Obtain a valid prescription from your US-based physician.
- Submit your prescription to the referral service (English-language prescriptions only).
- A licensed pharmacy reviews and verifies the order.
- Medication is mailed directly to your home address within the United States.
- You receive the correct dosage form with proper labeling and storage instructions.
We ship directly to your residence. We do not ship to doctors’ offices, medical clinics, or hospitals. We also do not accept prescriptions issued by physicians practicing outside the United States.
If you are comparing options for GLP-1 medications, you may find it helpful to read about Saxenda vs Ozempic to understand which medication may be more appropriate for your health goals.
How Much Does Generic Semaglutide Cost
Cost is one of the primary reasons patients seek out where to buy generic Ozempic in the first place. US retail prices for brand-name Ozempic can run well over a thousand dollars per month without coverage. Generic Semaglutide accessed through our prescription referral service is often available at a fraction of that price, making consistent treatment more realistic for many patients.
Pricing depends on the dosage strength you are prescribed. For example, patients starting on a 0.25 mg weekly dose will pay less than those who have titrated up to 1 mg per week. The cost difference can be substantial, and many patients who previously struggled to maintain their regimen report that accessible pricing through a referral service changed their approach entirely.
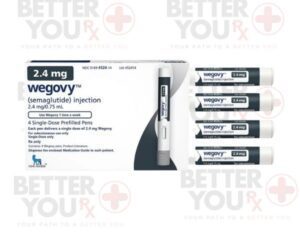
You can also explore comparable GLP-1 options through our service, including Wegovy, which is also Semaglutide but approved at higher doses for chronic weight management.

Estimated Monthly Cost Comparison for Semaglutide Access
| Access Method | Approximate Monthly Cost | Prescription Required | Ships to Residence |
|---|---|---|---|
| US Retail (Brand-Name Ozempic) | $900 – $1,200+ | Yes | Yes |
| Prescription Referral Service (Generic) | Significantly lower | Yes | Yes (US only) |
| Unverified Online Sources | Varies (not recommended) | Often bypassed | Risk of counterfeit |
How Long Does It Take for Generic Semaglutide To Work
Patients who start generic Semaglutide often want to know when they will begin to notice changes. The timeline varies based on the individual and the dose, but most people notice early blood sugar improvements within the first two to four weeks. Meaningful changes in appetite and body weight typically become apparent between weeks four and eight.
The dose escalation schedule plays a major role. Most physicians start patients on 0.25 mg per week for the first four weeks, which is considered a starter dose designed to allow the body to adjust rather than produce immediate therapeutic effects. After that, the dose usually increases to 0.5 mg. Some patients are eventually moved to 1 mg or higher doses depending on their response and tolerability.
Consistency matters more than speed. Patients who stay on schedule and do not skip doses tend to see steadier progress. If a dose is missed, most providers advise taking it as soon as possible within five days and then resuming the usual schedule.
For those managing both weight and blood sugar, understanding what Trulicity is can help put GLP-1 options in broader context, since both medications belong to the same drug class.
Can Generic Semaglutide Be Used for Weight Loss
Generic Semaglutide is approved for type 2 diabetes management, not weight loss specifically. However, weight reduction is a well-documented secondary outcome for many patients who take it. The appetite-suppressing mechanism that helps stabilize blood sugar also reduces caloric intake, which over time leads to meaningful weight loss in many individuals.
Patients who are primarily focused on weight management may find that Wegovy or Saxenda are more appropriate options, since these are approved for chronic weight management and are often prescribed at higher doses for that purpose.
That said, many patients with type 2 diabetes benefit from both blood sugar control and secondary weight loss when using generic Semaglutide as prescribed. The best approach is to discuss your specific health goals with your doctor, who can determine which medication and dose level aligns with your situation.
In practice, patients who combine generic Semaglutide with structured dietary changes tend to report the most consistent results. Healthcare providers often note that patients who set realistic expectations and stick to the prescribed titration schedule experience fewer side effects and better long-term adherence.
Common Side Effects of Generic Semaglutide
Most patients tolerate generic Semaglutide reasonably well when following the gradual dose escalation protocol. The most frequently reported side effects are gastrointestinal and tend to be most pronounced during the first few weeks or after a dose increase.
- Nausea: The most common side effect, usually improves after several weeks.
- Vomiting: More likely during the titration phase; eating smaller meals can help reduce frequency.
- Diarrhea or constipation: Both can occur; staying hydrated is important.
- Decreased appetite: Often a welcome side effect for those managing weight.
- Stomach discomfort or bloating: Typically mild and temporary.
- Fatigue: Some patients report tiredness early in treatment, which often resolves on its own.
Serious side effects are rare but require immediate medical attention. If you experience severe abdominal pain, vision changes, or signs of an allergic reaction, contact your healthcare provider promptly. Inform your doctor of all other medications you are taking before starting generic Semaglutide, as interactions with certain drugs, including insulin products, require monitoring.
If you are currently managing diabetes with Metformin, ask your doctor about how combining it with Semaglutide could affect your overall treatment plan.
Frequently Asked Questions
What is generic Semaglutide and how does it work?
Generic Semaglutide is the bioequivalent form of brand-name Ozempic, containing the same active GLP-1 receptor agonist compound. It works by mimicking the GLP-1 hormone, prompting the pancreas to release insulin in response to meals while also slowing digestion. This dual effect stabilizes blood sugar and reduces appetite. Because it shares the same active ingredient and mechanism as Ozempic, patients can expect the same clinical performance at a lower cost when accessing it through a licensed prescription referral service.
Is generic Semaglutide as effective as brand-name Ozempic?
Yes. Generic Semaglutide is bioequivalent to brand-name Ozempic, meaning it delivers the same therapeutic outcomes. Clinical standards require that generic medications demonstrate the same rate and extent of absorption as their branded counterparts before approval. Patients switching from Ozempic to generic Semaglutide at the same dose should experience equivalent blood sugar control and similar side effect profiles. The main difference patients notice is typically in pricing rather than performance.
What are the common side effects of generic Semaglutide?
The most common side effects are nausea, vomiting, diarrhea, and stomach discomfort, particularly during the first few weeks of treatment. These effects are most pronounced when starting the medication or increasing the dose. Eating smaller, low-fat meals and staying well-hydrated can reduce their intensity. Most patients find that gastrointestinal symptoms improve significantly after the first four to six weeks as the body adjusts to the medication.
How long does it take for generic Semaglutide to work?
Most patients notice early blood sugar improvements within two to four weeks, with more noticeable changes in appetite and weight by weeks four to eight. The initial 0.25 mg starter dose is designed to build tolerability rather than produce maximum effect. The therapeutic benefits accumulate over the full titration schedule. Patients who remain consistent with their dosing schedule and dietary habits typically see the most reliable results over a three to six month period.
Can generic Semaglutide be used for weight loss?
Generic Semaglutide is approved for type 2 diabetes management, but weight reduction is a widely observed secondary outcome. The appetite-suppressing effect of the medication leads many patients to eat less and lose weight gradually. However, if weight loss is the primary goal, a physician may recommend a medication specifically approved for that indication, such as Wegovy. Always consult your doctor to determine which option aligns with your diagnosis and health objectives.
Medical Disclaimer
The content on this page is provided for informational purposes only and does not constitute medical advice. It is not a substitute for professional medical guidance, diagnosis, or treatment. Always consult a licensed healthcare provider before starting, stopping, or modifying any medication regimen. Individual results may vary. Better You Rx is a prescription referral service and does not practice medicine.
Sources
- American Diabetes Association (ADA) – Standards of Medical Care in Diabetes: GLP-1 receptor agonist treatment guidelines and clinical outcomes for type 2 diabetes management.
- New England Journal of Medicine – Efficacy and safety data on Semaglutide for blood glucose control and secondary weight outcomes in adults with type 2 diabetes.
- Journal of Clinical Endocrinology and Metabolism – Comparative analysis of GLP-1 receptor agonists: mechanism of action, dose titration protocols, and patient adherence factors.
- Mayo Clinic – Semaglutide Overview: Approved uses, pharmacological profile, and clinical guidance for prescribing GLP-1 medications in primary care settings.
- Diabetes Care Journal – Patient-reported outcomes and tolerability data for weekly subcutaneous Semaglutide injections across diverse adult populations.